When I started planning my van build, I had some specific goals in mind:
Build a van that could:
- •Handle any climate - Colorado winters at altitude and desert summers
- •Let me work remotely on trips (I have a normal day job)
- •Be reliable enough to not stress about breakdowns
- •Cost as little as possible while still being genuinely functional
Here's what I actually ended up with for that money.
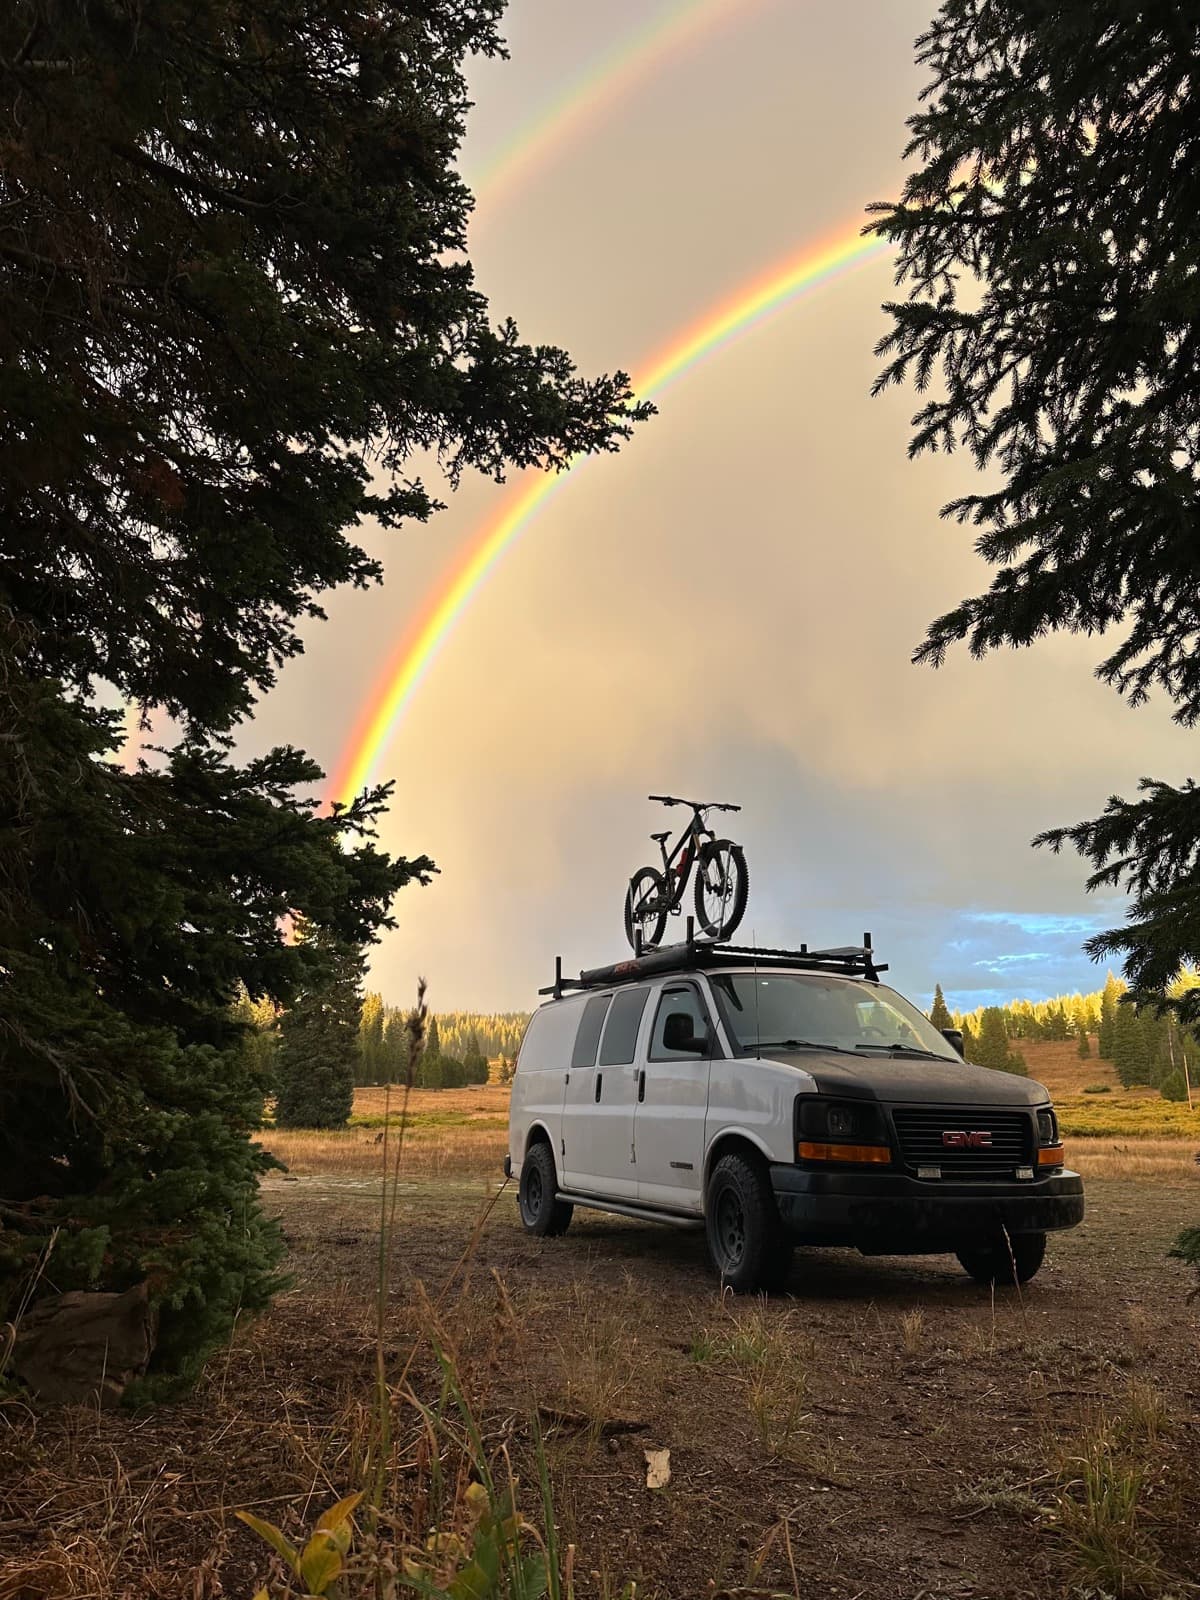
The Van - 2004 Chevy Express 2500
The short version: the LS V8 engines in these vans (4.8L, 5.3L, and 6.0L) are all very well respected for reliability, regularly going 250,000+ miles with basic maintenance. Mine has the 4.8L, which delivers a little less power and a little better fuel economy than the 5.3 and 6.0. The 4L80 transmission in the 2500 is bulletproof, any mechanic in America can work on it, and parts are cheap and everywhere. If something catastrophically fails, an engine replacement is $1,800-7,000 instead of $10,000-15,000 for a Sprinter or Transit.
What I Gave Up:
I can't stand up inside. I'm 6'1" and the interior height is about 52". I sit, I kneel, I crouch, but I don't stand. For me, this tradeoff was worth saving $20,000-30,000 on the van purchase and ongoing maintenance.
See the full reasoning on the Chevy Express page — engine replacement costs, reliability data, and why I chose this over a Transit or Sprinter.
The Build - Components Breakdown
Here's where it gets interesting. Once you've got an affordable, reliable platform, you can actually put money into the components that matter instead of dumping it all into the base vehicle.
Electrical System
This is the backbone of everything. I wanted to be able to work remotely (laptop, Starlink), run a fridge, heat in winter, and not worry about power.
Key Takeaway
You don't need premium brands to build a reliable electrical system. Every component below is budget-friendly, and I've used these components across multiple camper builds now — several friends have built with the same gear, and everything has worked perfectly with no issues. The electronics guide covers how to design your own system from scratch.
Solar Panels - 4x 300W panels
$560 ($140/panel)1,200 watts of solar sounds like overkill until you spend a winter in the mountains. In summer, I'm generating 4,000-5,000Wh per day easily. In winter, I might get 1,500-2,000Wh on a decent day. That winter production is what keeps me from being dependent on driving to charge batteries. Check out the solar panels guide for the full breakdown on panel selection and sizing.
I went with generic Chinese panels — not Renogy, not Rich Solar, just no-name panels with decent reviews.
3000W Pure Sine Inverter - Vevor
$200I covered this in the inverter guide, but going with 3000W instead of 2000W was one of the best decisions I made. The cost difference was maybe $50, but now I can run my induction cooktop on high, blend smoothies, boil water fast - basically anything I want without thinking about it.
The Vevor is very close in quality to something like a Victron, at a fraction of the cost. It's been working great.
Link to our favorite inverter →Charge Controllers - 2x 50A MPPT from Vevor
$200 ($100 each)I split the solar across two controllers instead of one big one because: (a) it was cheaper than finding a single 100A controller, and (b) redundancy — if one fails, I still have 600W of solar working.
MPPT was non-negotiable given winter camping plans. These extract 10-30% more power than PWM controllers — and the gain is biggest in cold, sunny winter conditions where panel Vmp sits well above battery voltage, which in winter means the difference between keeping up with power usage and slowly draining the battery over a few cloudy days. See the charge controller guide for why MPPT matters.
Link to our favorite charge controller →60A DC-DC Charger - Vevor
$150This charges my house battery from the alternator while driving. In summer I barely use it because solar keeps me topped up. In winter it's essential - I can drive for 2 hours and put 1,000+ Wh back into the battery, which is often more than I'd get from a full winter day of solar.
I did upgrade my alternator to support the 60A charger, but to me it was worth it to be able to charge much more on shorter drives — especially since my alternator was old enough that I wanted to replace it anyway for peace of mind. More on sizing in the DC-DC charger guide.
Link to the Vevor 60A DC-DC charger →Battery - 280Ah LiFePO4
$400I went with the Eco-Worthy 280Ah LiFePO4.
280Ah gives me 3,584 Wh of capacity, which means I can go 2-3 days without any charging if needed. In practice, between solar and driving, I'm never running that low. But having that buffer means I'm not stressed about battery percentage.
I think it's very close in quality to something like a Battle Born, at a much lower price. It's been working perfectly since I installed it. I've got Bluetooth monitoring and can see every cell — they're all balanced and healthy. The battery guide covers why LiFePO4 is the way to go.
I also planned my layout to support adding a second 280Ah battery if I ever choose to. For now the cost hasn't been worth it to me, but especially if prices keep dropping, or if my electrical needs change, it's a nice option to have.
Link to our favorite battery →That's a complete off-grid electrical system - 1,200W solar, 280Ah battery, 3000W inverter, proper charge controllers and DC-DC charging. For comparison, just the batteries alone would have cost this much five years ago.
Climate Control
Maxxfan Deluxe Plus - Facebook Marketplace
$200I found it brand new in box — the seller had bought two by accident and never returned the second one. Retail is $380-400. I drove 15 minutes to pick it up and saved $180-200.
This is the one component I wouldn't skimp on. Most roof fans can't stay open in the rain, which means on hot rainy days you're sealed in a greenhouse. The Maxxfan rain cover means I can have it running 24/7 regardless of weather. More on fan options in the ventilation guide.
Is it reversible? Yes (the Plus model pulls air in or pushes it out). Do I use that feature? Honestly, not much - I usually just run it in exhaust mode. But on really hot nights I'll flip it to intake and blast cool air down on the bed, which is nice.
Link to Vevor budget roof vent fan →Diesel Heater - Vevor
$100Chinese diesel heaters are pretty well covered elsewhere online and widely liked in the van community — for good reason. For around $100, you get a heater that keeps you warm well below zero and uses minimal power (1-2 amps while running). I specifically chose a model with automatic altitude adjustment, since I spend a lot of time in the Colorado mountains and altitude can affect combustion. Some newer models can even be controlled via your iPhone, which is a nice bonus.
Installation tip: take your time running the exhaust through the floor and sealing it properly. That's where people mess up — and install a CO detector regardless of how clean the install looks. See the heating guide for installation details and the safety guide for the detector I use.
Link to the Vevor 2kW diesel heater →Thinsulate Insulation
$270This is one area I didn't cheap out on. I went with actual Thinsulate instead of foam board or cheaper alternatives because:
- •It conforms to all the curves and ribs in the van (no air gaps)
- •It's breathable (moisture can dry out if it gets in)
Insulation is one of those areas where if you ever need to make a change, it's a huge hassle — everything built on top of it has to come out first. For that reason, I went with a tried and true option for peace of mind. Full comparison of options in the insulation guide.
Sound Deadening
$50I did use sound deadening in this build, and for the cost I think it's a no-brainer unless you're on a very tight budget. It's basically impossible to add later once your walls, ceiling, and floor are in — so if you're even considering it, do it now. The sound deadening guide covers the options.
Link to our favorite sound deadening →Appliances & Plumbing
Dometic CFX3 75L Fridge - Craigslist
$400This is a $800+ fridge new. I found it on Craigslist from someone who upgraded their RV. It's a real Dometic (not a knockoff), works perfectly, and I saved $800.
Why Dometic instead of a brand like Iceco or Vevor? I didn't plan this - I just found a good deal and jumped on it. In retrospect, any quality 12V compressor fridge would work fine. Brands like Iceco and Vevor are very close in quality to Dometic at a much lower price point.
More on fridge options, including my preference for larger dual zone fridges which give you a lot of flexibility, in the food storage guide.
Link to the Vevor 12V fridge →Induction Cooktop - Vevor
~$110I chose to go with an all electric system, including my stove, which is an induction cooktop. No propane tanks to refill, no combustion fumes to vent, and I would argue a higher level of safety without the risk of a gas leak. This uses a decent bit of electricity, but I designed the system to be able to handle it.
The only downside is you need induction-compatible cookware (cast iron or magnetic stainless steel). More on cooking setups in the cooking guide.
Link to our favorite induction cooktop →Sink, Water Pump, Tank - Vevor
$200Basic setup:
- •5 gallon water tank under the sink
- •12V water pump
- •Sink with faucet
- •Some plumbing fittings and hose
Nothing fancy. I fill the tank from jugs, pump delivers water to the sink, gray water drains into another jug underneath that I empty manually. No permanent tanks, no complex plumbing.
I only live in the van part time, so I prioritized being able to remove the tanks as needed to clean them more thoroughly, and having fewer water lines to worry about freezing. If I lived in the van full time, I'd probably go with a larger volume permanent tank. The water systems guide covers all the options if you want something more elaborate.
Structure & Interior
80/20 Aluminum Framing - Vevor
$500I usually tell people to skip 80/20 and use wood because 80/20 is expensive and time-consuming. But budget extruded aluminum from Vevor has made this much more accessible — you can get everything you need for about $500, compared to $2,000-3,000 from name-brand 80/20 suppliers.
Pros
- ✓Looks clean
- ✓Very light (saved probably 100+ lbs vs. wood)
- ✓Strong enough for anything I need
Cons
- ✗Took forever to build (drilling, aligning T-nuts, assembling everything)
- ✗Required more precision than wood
Would I do it again? Honestly, probably not. The weight savings were nice but the time cost was significant. If I were building another van I'd use wood and get it done faster. More on framing options in the framing guide.
Vevor 2020 aluminum extrusion (10-pack, ~$120) →Plywood, Flooring, Panels, Hardware
~$800This covers all the interior build materials:
- •Subfloor (plywood)
- •Vinyl plank flooring
- •Wall panels (thin plywood)
- •Ceiling panels
- •Bed platform materials
- •Hardware (hinges, latches, screws, etc.)
- •Interior lighting (LED strips)
I got the larger construction materials (plywood, flooring, lumber) from Home Depot and Lowes, and most of the smaller stuff — hinges, latches, screws, LED strips, USB outlets — from Amazon, eBay, and Temu, where it's significantly cheaper. $800 sounds like a lot, but this is covering 200+ square feet of interior space plus building a bed platform, so it's actually not bad.
Wiring, Fuses, Connectors
~$200Do not cheap out on electrical components
This is one area where I bought quality:
- •Proper gauge wire (not undersized)
- •Marine-grade tinned copper wire for the main battery runs
- •Quality fuses and fuse blocks
- •Good crimping tools
- •Heat shrink
- •Proper ring terminals and lugs
Your van not burning down is worth spending an extra $50 on proper wire and fuses. More on wiring best practices in the electronics guide.
The Total Breakdown
Let me add it all up:
Major components listed above. The remaining ~$500-800 went to tools, miscellaneous hardware (screws, bolts, brackets, sealant, adhesives), registration/insurance, and dozens of small purchases that add up fast.
That's around $10,000 - and I didn't even try to minimize costs. Here's where I could have saved more:
- •The 80/20 was a choice ($500). Wood framing in a small Express 2500 (less linear footage than a full Sprinter) runs $100-200, saving $300-400.
- •The fridge deal ($400). A cheaper brand new one would have been $300-400, so about the same or I could have skipped it initially and used a cooler ($50).
- •Some of the build materials could have been cheaper if I'd shopped more carefully.
If you wanted to go even cheaper:
You could build a fully functional off-grid van for well under $9,000 with smart shopping.
What This Build Can Actually Do
"$10,000" sounds like a budget build that barely functions. Here's what it actually handles:
Power
My system generates 1,500-5,000Wh per day depending on season and weather. In summer I'm way positive. In winter I'm roughly breaking even or slightly negative, which is when the DC-DC charger matters.
I can go 2-3 days without any sun and not stress about battery level. That's legitimate off-grid capability.
Climate
Maxxfan keeps it bearable even when it's 90°F outside. Crack the windows, run the fan, and it's fine. Not air-conditioned comfortable, but livable.
Diesel heater keeps it toasty even when it's 10°F outside. I'll run it on low overnight and wake up warm.
Comfort
What I'd Change If I Built It Again
Things I'd Keep the Same
- ✓The van choice (Express with LS is perfect)
- ✓The electrical capacity (1,200W solar and 280Ah is the sweet spot)
- ✓Maxxfan (worth every penny)
- ✓Diesel heater (incredible value)
- ✓Thinsulate insulation (just works)
- ✓Buying used fridge (saved $800)
- ✓Patient shopping on Facebook Marketplace
Things I'd Change
- ~Skip the 80/20 and use wood framing - 80/20 looks cool but the time investment wasn't worth the weight savings for my use case. Wood is faster, cheaper, and easier to modify.
Things I Might Add
- +Second battery - Adding another 280Ah would give me more winter buffer. (Cost: ~$400)
The Bottom Line
I use this van for trips ranging from weekends to about three weeks at a time. It handles remote work, all-season camping, and extended off-grid stays without complaint. The difference between this and a $40,000 build isn't capability - it's aesthetics and brand names.
You can spend $60,000 on a Sprinter conversion with a high roof and every amenity. Or you can spend $10,000 and have $50,000 left over for actually traveling.
The best van is the one that gets you out there. This one does that for me, and it cost about as much as a used Honda Civic.
If you're on the fence about whether you can afford van life, consider this: you probably can. You just might not be able to afford Instagram van life. And that's completely fine.